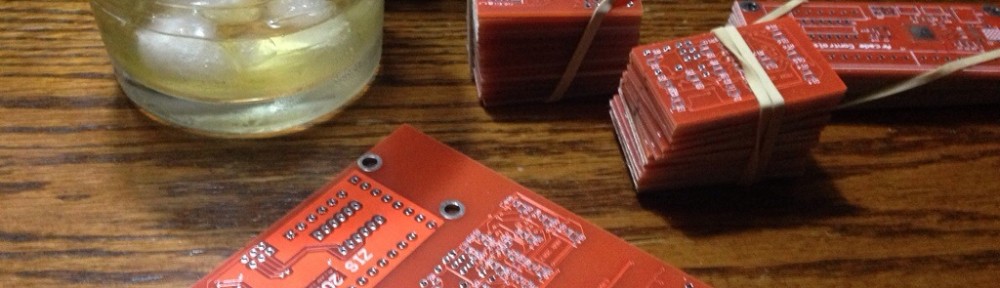
I have a perfectly good coffee scale. The Timemore Nano Micro. It’s a nice scale and does everything quite well, except for one thing, it times out during the start of slow espresso shots, when the coffee is coming out in slow drips at the start. I kept getting mad at the scale for thinking the coffee was done before there was even 5 grams of coffee. I did some googling around for new scales and found the Varia AKU Pro looked really nice. I especially liked the LCD screen on the varia. However, it was a bit pricey, so I did what any retired software engineer would do and spent more time and money building a scale that doesn’t work quite as well. This is what i came up with:
Baby Steps
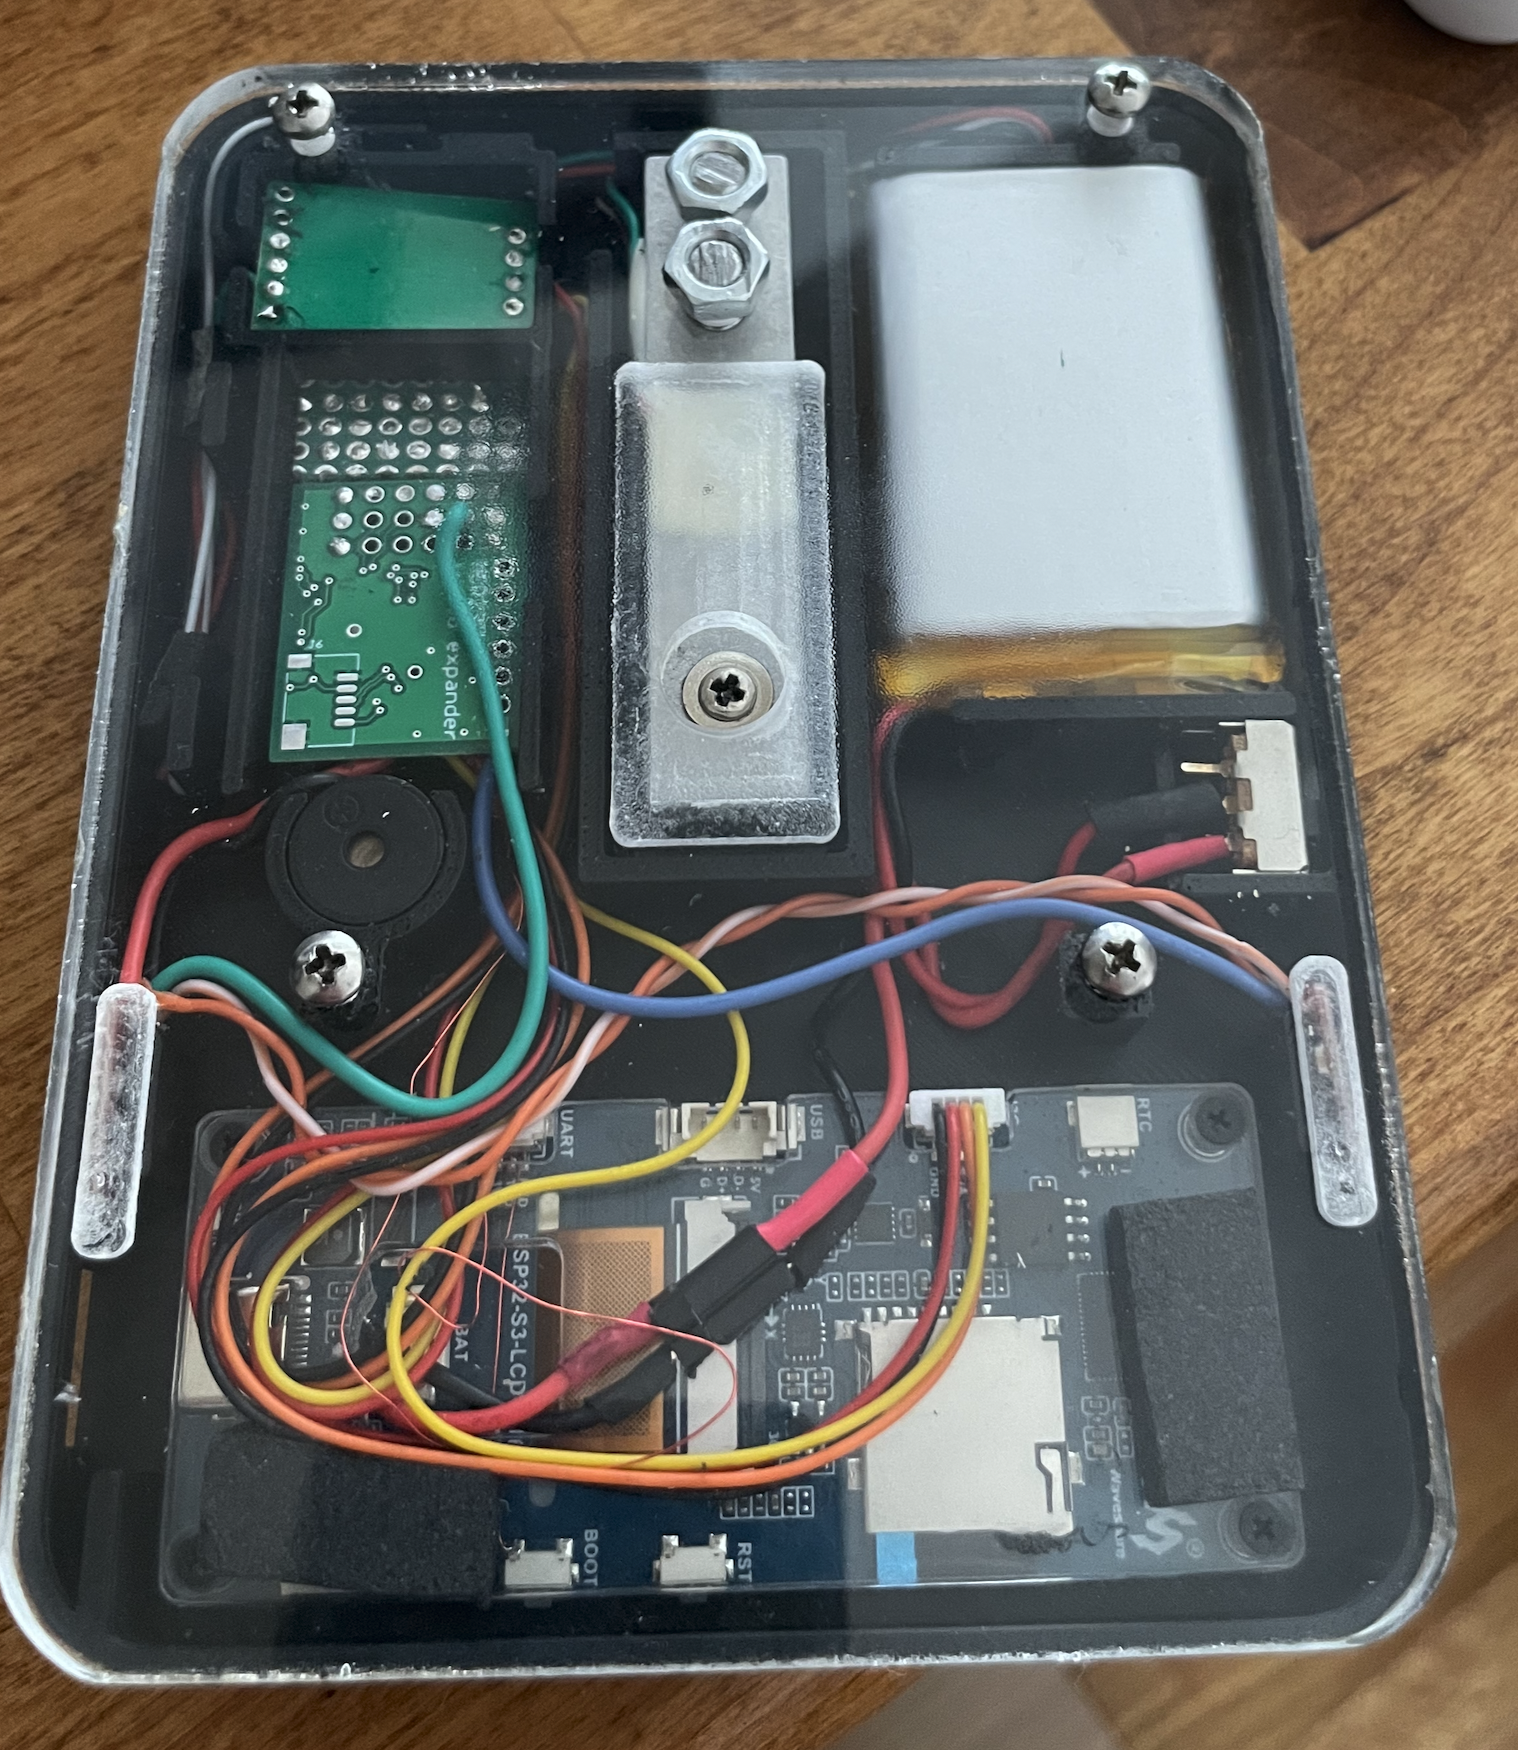
For this project, I had to find an LCD display that mimics the Varia AKU Pro form factor. I settled on the **Waveshare ESP32-S3-LCD-3.16**. This is a nice development module but it is severely lacking in I/O. I paired this with a load cell cannibalized from a broken kitchen scale, an HX711 load cell amplifier module, and an MCP23017 I2C GPIO expander of which I use 1 (count ’em) I/O pin.
Two touch buttons handle all input. The tare button (T) sits on the MCP23017 I2C GPIO expander. The power/timer button (?) is wired to GPIO0, which doubles as the deep-sleep wakeup pin and, just to make it difficult, also drives the speaker through a small FET circuit.
The battery is a 2000 mAh Li-ion cell, rechargeable via USB. I did my best to make it low power. I had Claude give me estimates on the runtime when in deep sleep, and it turns out that the year and a half Claude thought I should get is really less than a week. Oh well.
The Case
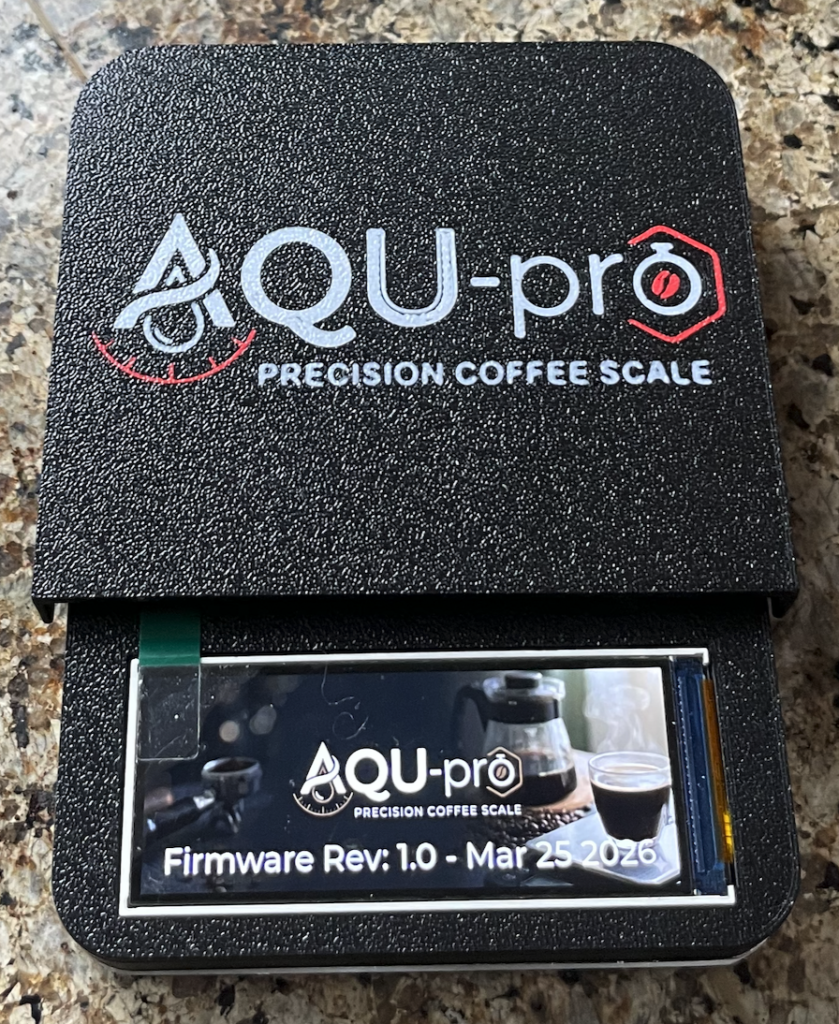
I wanted the case to be reasonably slim, and mostly succeeded. It was designed in Fusion 360 and 3D printed. The base is a piece of acrylic cut on a CNC router for stiffness. A thin steel plate would probably be better.
Fun with GPIOs
So this Waveshare board really only has I2C and serial available. I used the serial port for the load cell and hung the GPIO expander off the I2C. I wanted to put the board into deep sleep mode when not in use, which meant using GPIO0 (the boot switch) for one of the I/Os.
On the ESP32, GPIO0 needs to be high at boot for the chip to start normally. It’s also the pin I wanted to use for the power button (active-low, internal pull-up, deep-sleep wakeup capable).
To make things worse I also wanted a buzzer, and the buzzer is bit-banged. I tried running it off the I/O expander but didn’t have great results.
So GPIO0 became: boot mode select, deep sleep wakeup, button input, AND speaker driver.
The button is a TTP223 capacitive touch module modified for active-low output. The speaker also runs off this pin through an MMBT4403 PNP inverter into a BSS138 N-channel FET. The PNP is required because GPIO0’s pull-up would otherwise hold the FET gate high continuously, drawing current through the speaker all the time. The PNP inverts the logic so idle-high = speaker off. (I think — I’m really a software guy.)
To play a tone, the firmware pauses the button-polling task, reconfigures GPIO0 as a PWM output, plays the note, then returns the pin to floating input and resumes button polling.
This mostly works. It has the side effect of making a click every time you touch this (the power) button.
Here is the hacky side of the scale. the hx711 is at the top left. under that is gpio expander with some protoboard for the gpio/speaker driver bits. I charge the scale by pushing the USB-C cable in to the side of the case into the dev board. I printed a plastic plug to cover the hole when not in use. I’d give this scale an IP20 rating. I think that means not waterproof, and resistant to particle ingress of things larger than children’s fingers.
The Firmware Architecture
So first off, I named my scale the AQU Pro — either as a rip-off or homage to the AKU Pro.
I wanted to use this project to test drive Claude Code, and I must say I’m suitably impressed. I told Claude that I wanted to use LVGL, ESP-IDF, PlatformIO, and VS Code. I downloaded the Varia user manual and used that as a requirements document.
So now I have a scale that has the following modes:
Mode A is full manual — weight, flow rate, timer. You do everything yourself. Good for people who distrust automation.
Mode B adds auto-tare. Place the vessel, it settles, it tares itself. Manual timer.
Mode C is auto-tare with no timer at all. Just weight and flow.
Mode D is fully automatic — auto-tare and auto-timer. Place vessel, it tares. Start brewing, timer starts. Flow stops, timer stops. I don’t touch the buttons.
Mode E (AQU Spro) is the espresso mode. Two sub-modes: live dose measurement from the portafilter, or a preset dose from settings. Live ratio display. Brew graph overlay. The whole coffee nerd experience.
Mode F (AQU Flow) is pour-over. Guided two-step setup — weigh vessel, add dose, confirm — then a 4-quadrant brew screen with live ratio vs target. I’ve never used this; I don’t do pour-overs.
BLE — Talking to Other Apps
I also found out that the expensive scales talk Bluetooth to coffee apps, so I asked Claude to plumb in that code too. The scale advertises as a “Decent Scale” BLE peripheral. This means it works out of the box with the Decent web app, de1app, and anything else that speaks the Decent Scale protocol. Weight and timer are pushed at 10 Hz over BLE GATT notifications. I was using the Beanconqueror app for a bit, it was kind-of fun.
And just to give credit where credit is due:
– Icons from Freepik
– Background images and scale logo from Gemini.